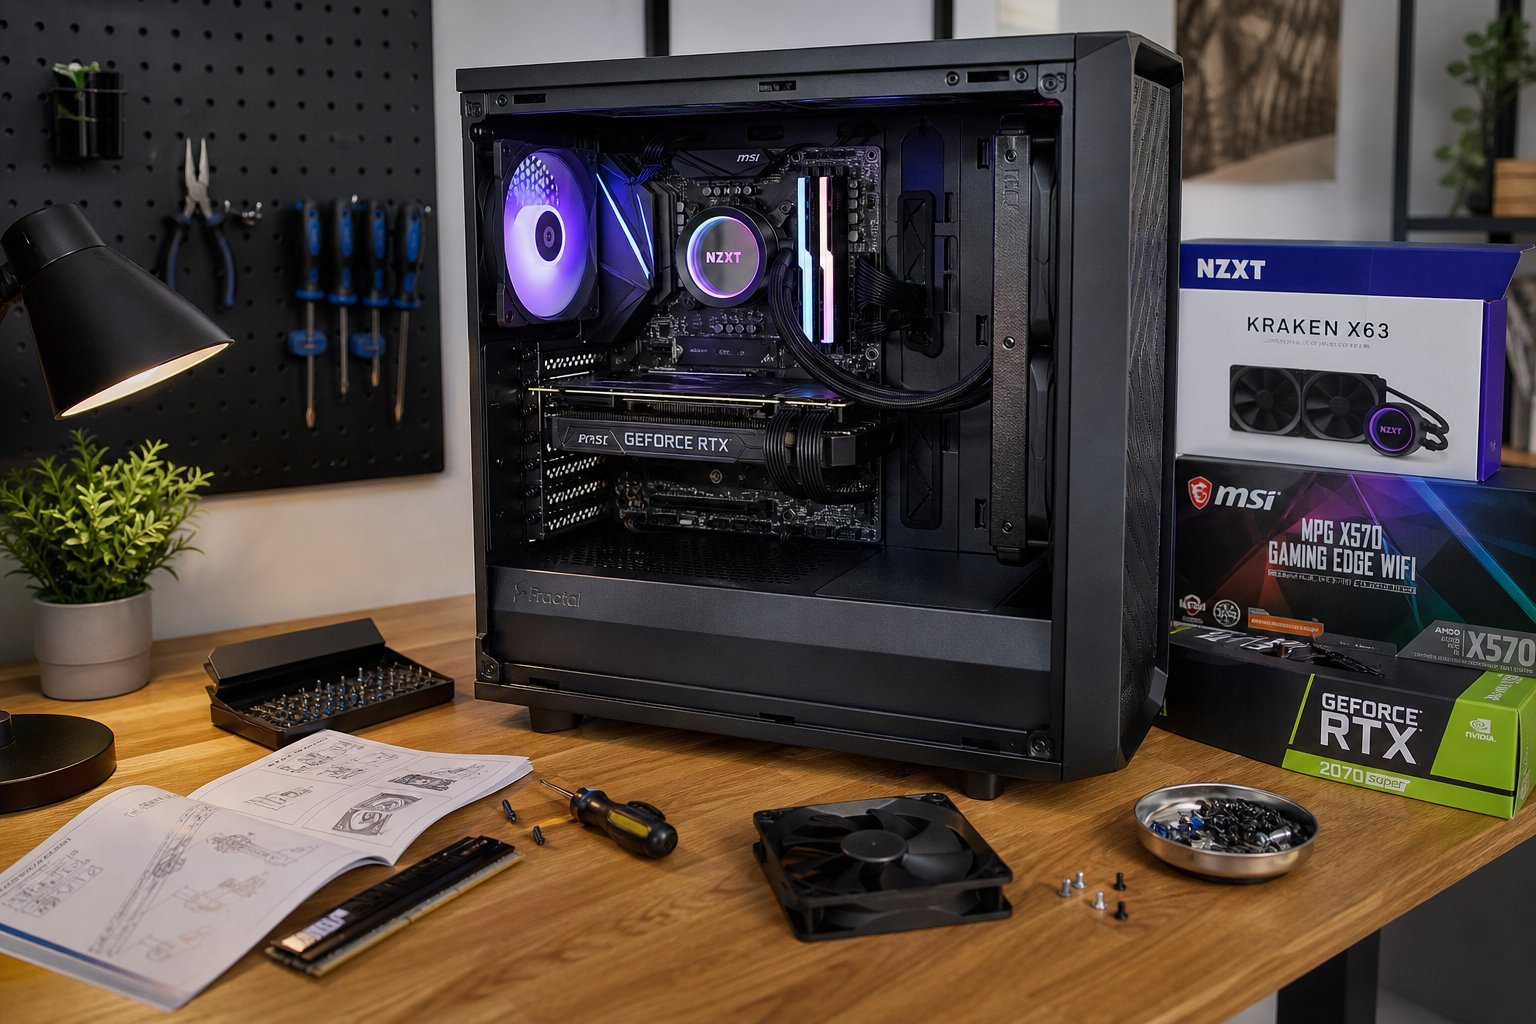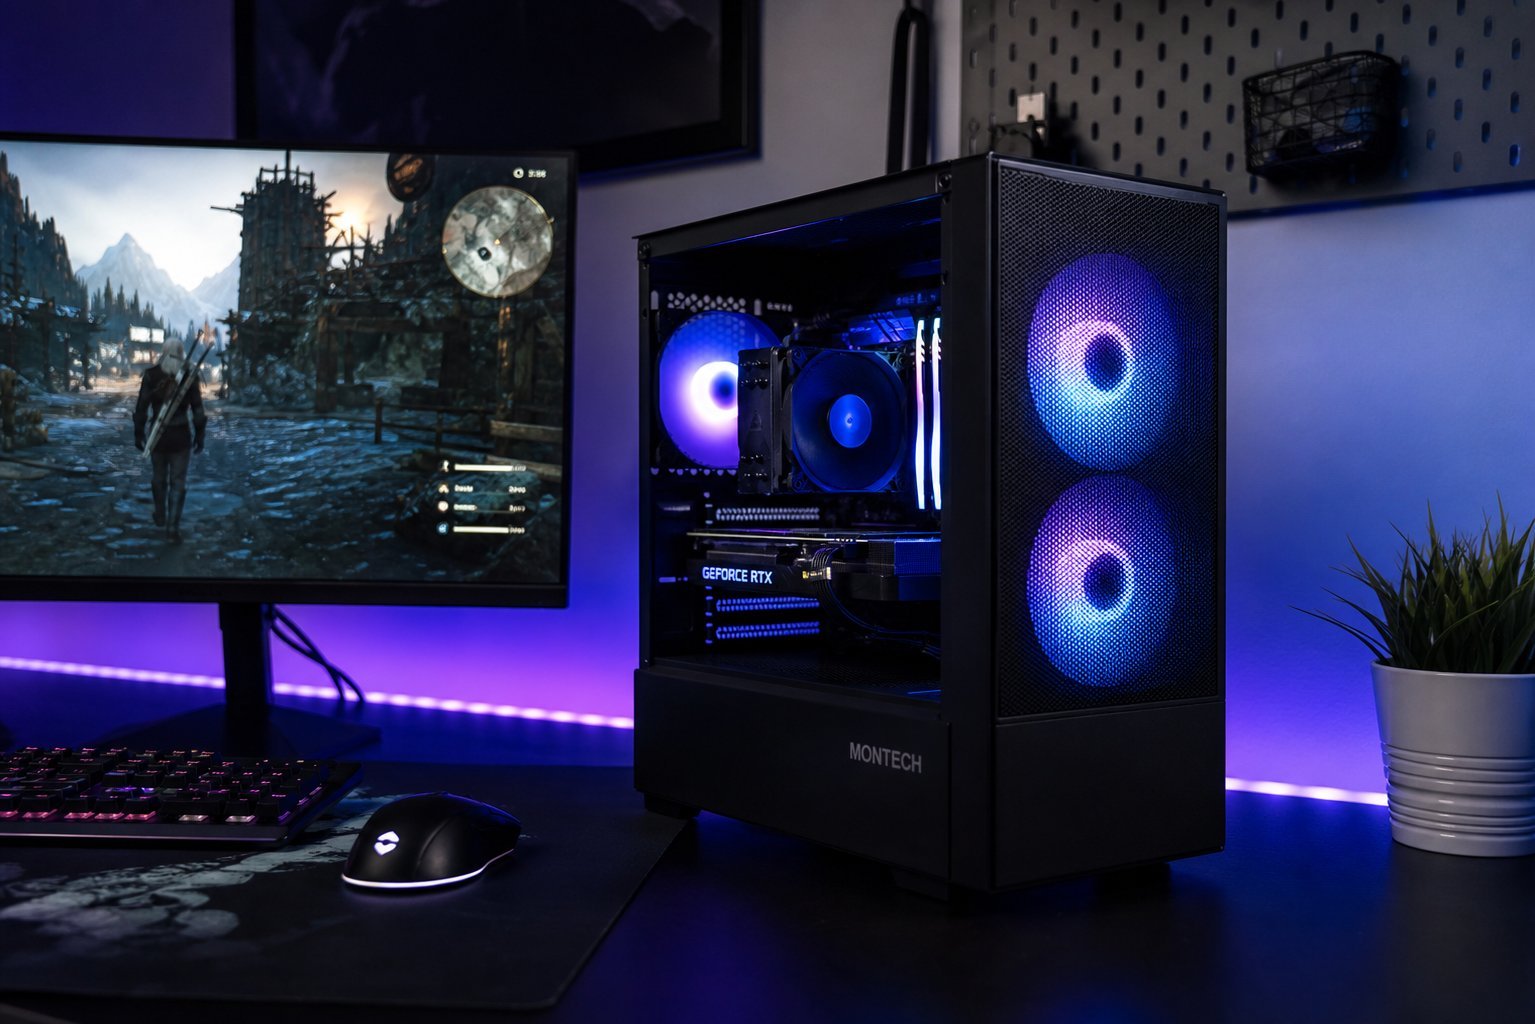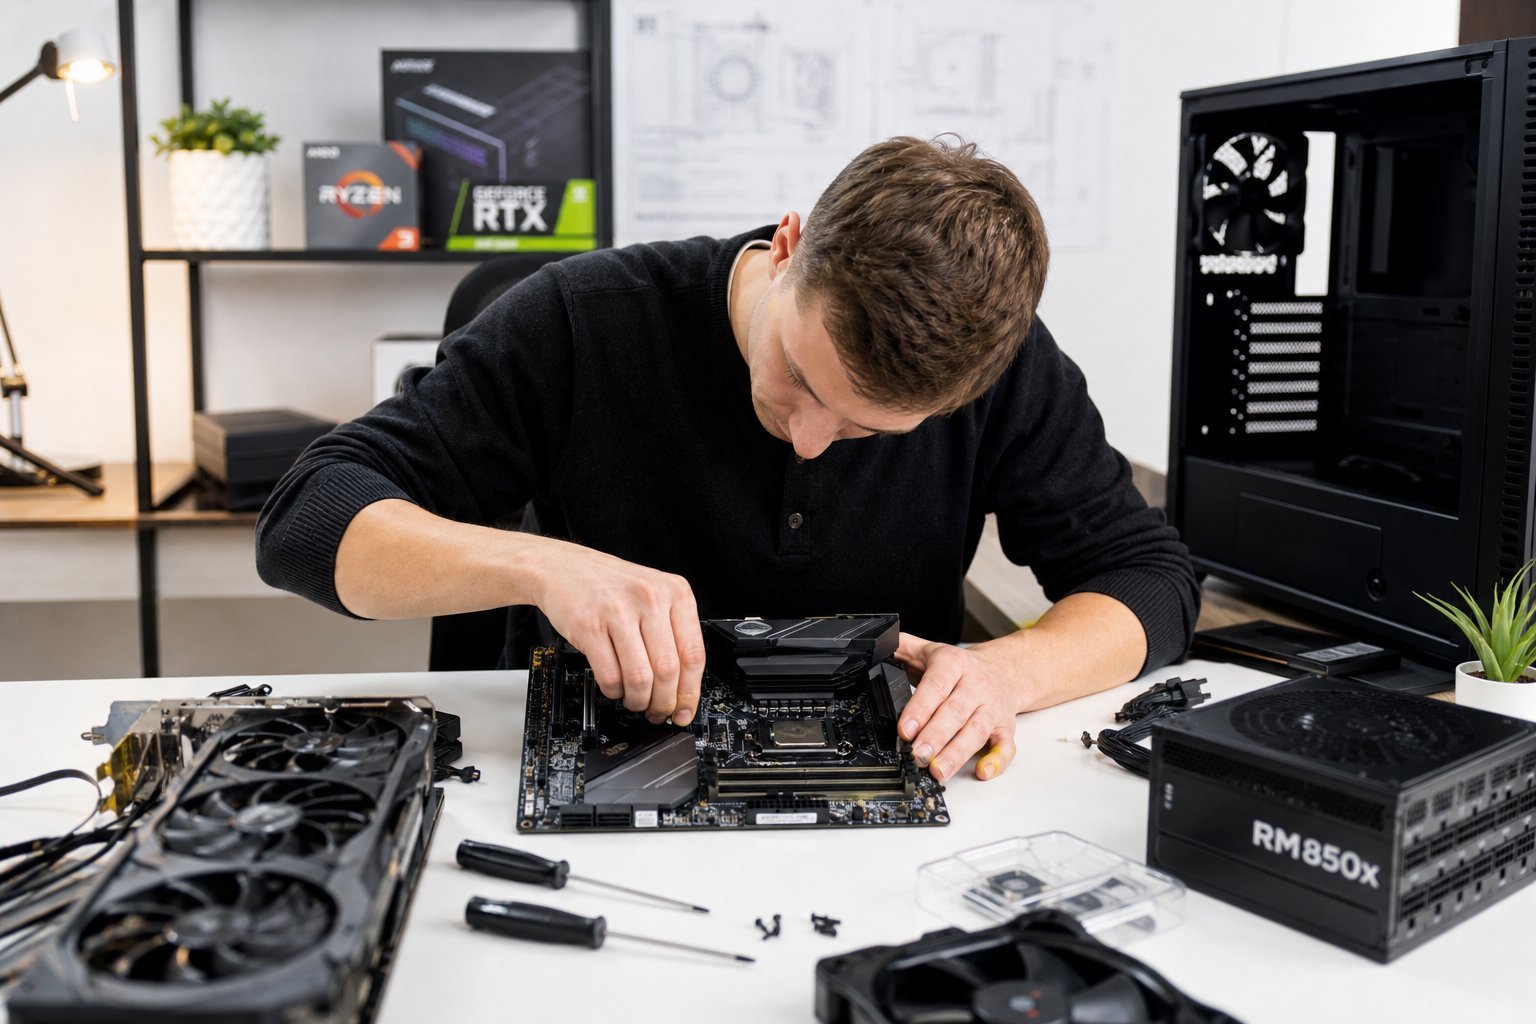
You've decided to build your own PC — great choice. It's one of the most satisfying tech projects, and it gives you a machine that fits your exact needs. We've covered the overall process and budget gaming builds, but here's a focused, step-by-step assembly guide for the actual build day.
This guide walks you through assembling your PC step by step — the order that works, the common mistakes to avoid, and how to get from a box of parts to a working computer.
What we'll cover
Prepare your workspace Assemble on the motherboard first Into the case Power & wiring First bootPrepare your workspace
Before touching any parts, set up for success:
A little preparation prevents the two biggest build risks: static damage and forcing parts. Take your time.
Assemble on the motherboard first
Smart builders assemble key parts on the motherboard before putting it in the case — it's easier and safer. Here's the order:
Assembling these on the motherboard first means you have room to work and see what you're doing. It's the professional way to build.
Into the case
Now move into the case:
Mounting the motherboard and components in the case, then wiring, is the standard sequence. Follow the manual for standoff placement and front-panel connections.
Power & wiring
Proper power and cable routing make the build work and look clean:
✨ Cable management matters
Route cables through the case's cable-management channels and use ties. Good airflow keeps components cool (and faster — see our optimization guide). And a tidy build is far easier to work on later.
First boot
The moment of truth. Here's how to boot your new build successfully:
⚠️ Never force a part
If a component won't fit easily, something's wrong — it's misaligned or incompatible. Forcing a part is how things break. Stop, check orientation and compatibility, and try again. Careful building prevents damage.
📌 Bottom line
Building a PC goes smoothly if you follow a sensible order. Prepare a clean, static-safe workspace. Assemble the CPU, RAM, cooler and SSD on the motherboard first. Install the PSU, mount the motherboard, add the GPU and front-panel wiring. Connect all power, route cables neatly, and boot it up — plugging the monitor into the GPU. If it doesn't boot, reseat the RAM and GPU. Take your time, never force parts, and you'll build a PC that works.